
If you’ve just started Pokémon Pokopia, you already know how addictive building your little paradise gets. But constantly sprinting back to check if crops are ready or if a new buddy showed up in a habitat can kill the chill vibe fast. Security cameras fix that exact problem. Place them smart and you can monitor everything from your Pokedex menu so you actually get to enjoy the game instead of babysitting fields.
Getting Your Security Cameras Up and Running
So here’s the deal. Once you hit the Pokémon Center or finish those early quests with Professor Tangrowth, hit the shop and grab Security Cameras for 100 Life Coins each. Stock up on a few because one alone won’t cut it for a growing base.
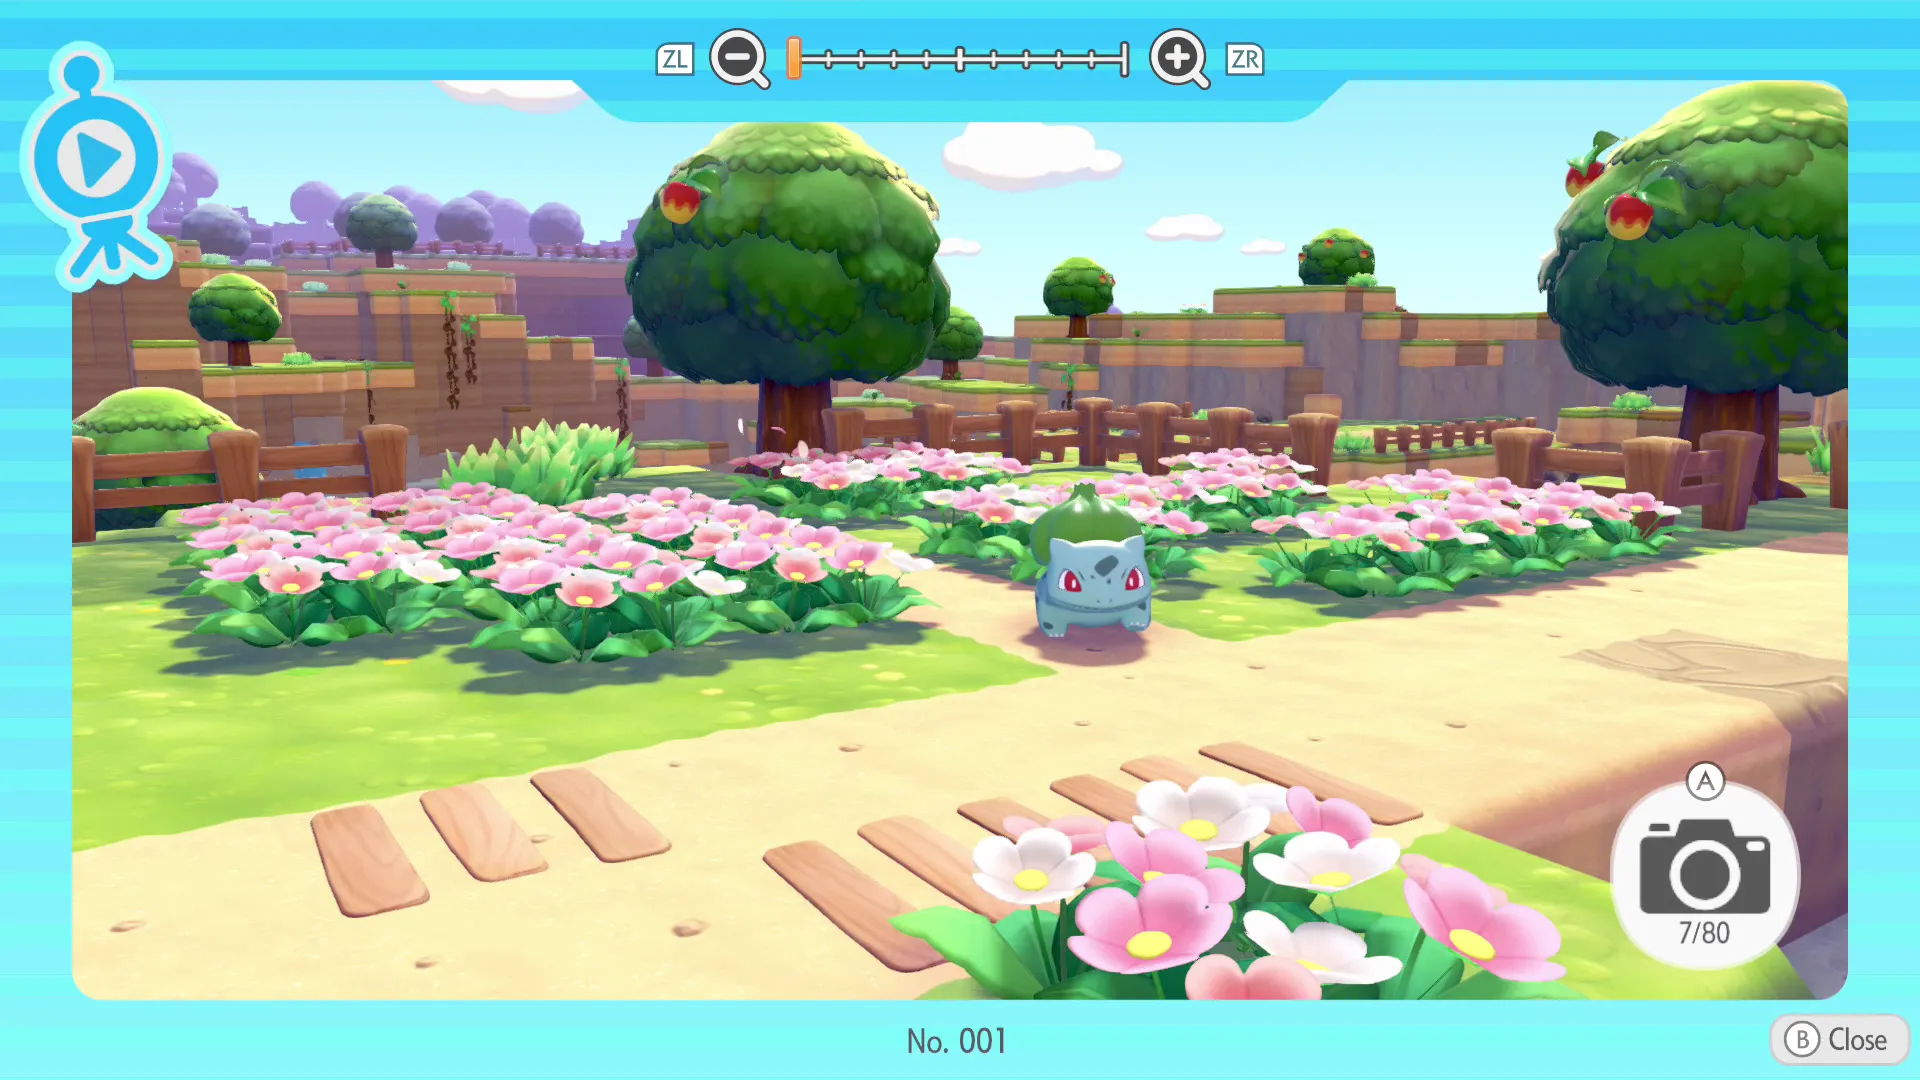
Pull one from inventory and drop it down. Walk up and inspect to tweak the angle and zoom right away. Then open your Pokedex, go to the Camera app, and tab into Security Cameras. Switch between them with the joystick. Super straightforward and this is the base for all the AFK stuff coming next.
Optimal Placements for Crop Farms and Harvest Timing
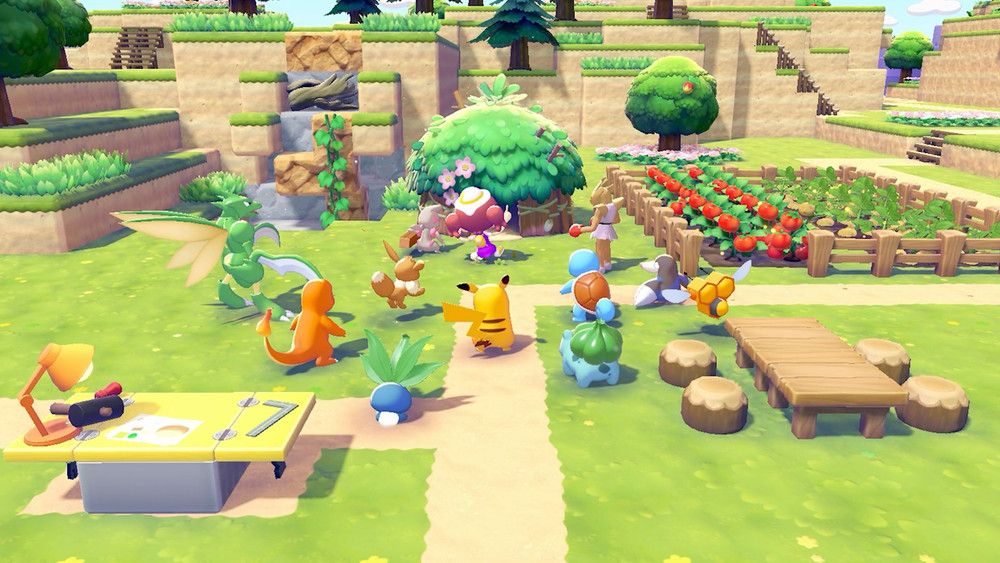
Building on those basics we just covered, put your first cameras where your crops live. Crops grow in real time so you need eyes on them without the constant trips. Drop a Security Camera on a raised platform, cliff edge, or nearby roof so the feed shows the whole patch. Zoom in enough to spot when they change color or sparkle ready to go.
For bigger farms use two or three with different angles. One close on veggies, another wide on berry trees. When you swing by later use Cut to drop everything and hold Y to suck it all up. No guessing anymore.
Here’s a quick table to scan the best farm spots:
| Farm Type | Best Camera Spot | Benefit |
|---|---|---|
| Veggie Patches | Elevated edge or platform | Full view of every growth stage |
| Berry Trees | Slightly higher vantage | Spot ripe ones across the grove |
| Mixed Crops | Central high point | Track multiple types at once |
This is exactly why testing the view right after placing matters. Your harvest runs just got way smoother.
Best Camera Spots for Habitats and Pokémon Spawns
This flows right into your habitats because new Pokémon showing up is the exciting part. Place cameras a bit back or elevated for a clean wide shot of the grass area and entrance. You’ll get alerts when motion triggers or a new one appears. Plus you can watch them finish tasks like crafting so you know when to grab the stuff.
One per new habitat you build keeps everything covered. No more wandering over every few minutes wondering what’s up.
This ties straight back to the crop setup we talked about earlier. Same menu, same easy toggle, double the efficiency while you AFK or build elsewhere.
AFK Tips and Camera Management
So here’s the deal for making it pro level. Once you have a few running you can cover farms, habitats, and even spots where Pokémon are grinding out lumber or ingots. High placements give the best overview of your whole area.
Adjust zoom in the inspect menu for details that matter. Toggle fast between feeds whenever you want. Let the real-time clock do its thing and just check the Pokedex when you feel like it. One bad angle wastes the whole setup so always test right after placing.
Wrapping It Up
There you have it. Nail these camera placements and Pokémon Pokopia turns into the relaxed paradise it’s meant to be. You’ll time every harvest perfectly, catch every spawn, and actually enjoy the AFK time instead of stressing about checks. Grab a couple today, tweak the angles as your base grows, and kick back while everything runs smooth. You got this buddy, go make that world even better.